welcome to my page for the amazing, colossal Suzuki DR650 |
|
The DR650 is one of, if not the best, Dual Sport motorcycles, with limitations. This page is to share notes of my DR650 build, as I try to reduce those limitations. Perhaps something here will save ya a bit of time & money. |
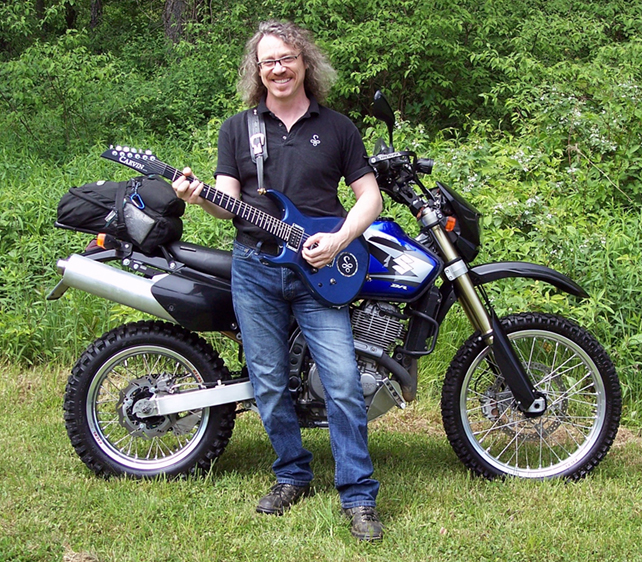 (I cant find the pics where I am not blocking the bike) |
|
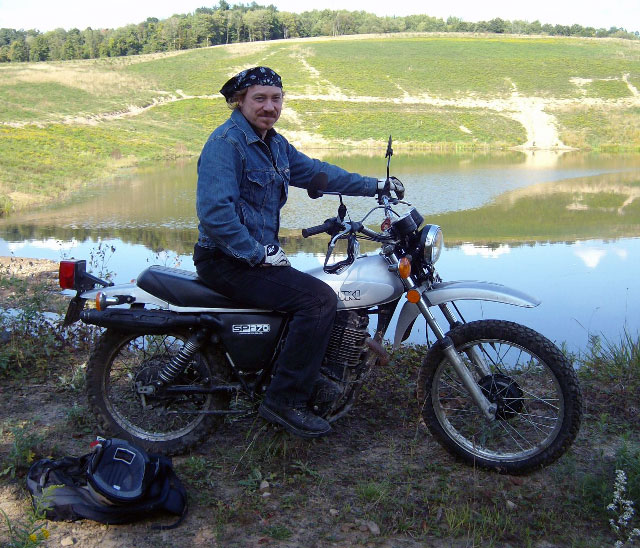
Hmmm were to begin? Well, although I have
been riding since 1975, I didn’t get a taste for (legal) Dual Sporting
until over 30 years later. A bud came across this 1978 Suzuki SP370 for sale for $850 and I snagged it. |
 |
|
...yea, even at 5'9", I look too big for
Lil Suzy. |
|
Acceleration took patience with its 18hp but, the damn thing handled great, with no spooky habits when ridden within its limits, which were awfully low. It had adequate brakes, a very low seat height and would start nearly every single time with one kick. ...but. The seat was wide but, unbearably hard. I tried to improve the poor lighting but, with a 6 volt system, there wasn’t a lot I could do in a cost effective fashion. The big downfall was the suspension. It was so poor that a moderately rough trail made the floats stick. We were far from home and stranded for a bit trying to figure out what was going on. Eventually my bud whacked the carb with a handy stone a few times & we were on our way again. This could be deemed, one of the only literal examples of "Rock -n- Roll" |
Hill climb with the "wheelie of defiance":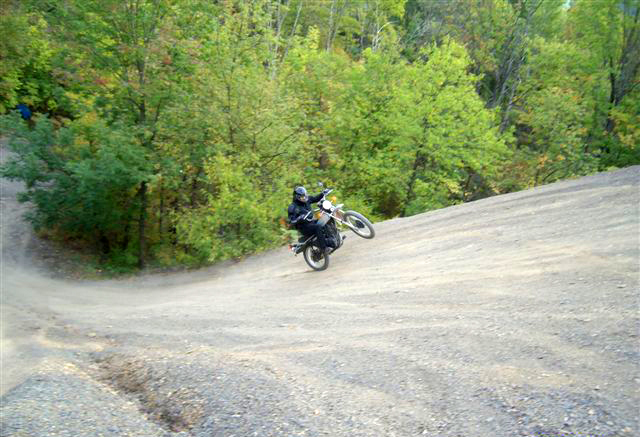 |
|
The Suzuki SP370 in ACTION! |
|
Well, it was a fun bike but clearly, Lil Suzy had too many
limitations. So the quest for a Bigger, Bad-Assed Bike with Better
Brakes, Beastly Balls, Brighter Beams and Better Boingers had Begun. ...Blah.
As a long time Kawasaki rider, I found the KLR650.
The best way to describe it is: Take a castor wheel off a shopping
buggy and put it on a pogo stick, now go out to a frozen lake and try
to cross it while giving a fat girl a piggy back ride. |
|
Interesting. |
|
|
|
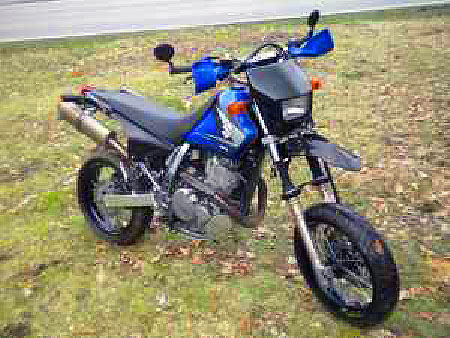
Big Suzi was a clear choice. It was very popular on the forums. It had
a durable engine, Dics Brakes, 12 volt system, and a better
suspension. Hot Dog, we have a weiner! Now the quest was on to find
one for sale. With a lot of patience, I found a nearby 2005 DR650 for
sale on Craig's List, here is the ad's pic:. |
 |
|
It was set up with many decent upgrades including: Heavier Fork Springs. Fork Brace Aftermarket Bars. FMF Muffler & Big Header Sumo Wheels Vapor Speedo K&N Filter |
|
I rode the bike twice with the sumo wheels, cool yes, but hardly
suited for Dual Sporting. They got sold for $850 I had hoped the suspension was acceptable. Immediately after mounting dirt wheels, I headed for a small jump. a s m a l l j u m p. With no more than 20" of height in the air, the beast flopped to ground and bounced back up, with the same energy. Zero rebound damping. This, combined with the idiotic floppy rubber mounted pegs, both ankles twisted as they bent down. ...not ideal. I added washers to the peg mounting bolts to stop the flexing. But the suspension needed serious attention. This is a low rez shot of the how the suspension performed when I got it: |
|
Note the rear zero rebound damping. |
|
After a lot or net-searching, I decided the best options were: If you are a DR650 owner, then you already know who Cogent is and how synonymous they are for THE DR650 Shock Solution. I followed suit. done. I decided to do a Front End from a DRZ400SM for several reasons: The Triple Clamps use the same bearings. mounting them was a direct, bolt-on affair. and the same steering stop style as a DR650. ...and are rubber mounted. It seems the offset is very close to the DR's The SM runs a 310MM Rotor, 10MM larger than the stock DR. The headlight & shroud are the same so, using the SM mounting hardware was also a bolt on affair. They weigh within ounces of the stock forks. With some patience and last second eBay sniping, I scored a nice set of SM forks for a decent price. Its worthy to note that I sold all my left over parts for about 50% or more of the cost of their upgraded counterparts. My preference is to run shock in the low seat height position and run the forks raised 5/8 in the clamps. After my math, I had FBI remove 1.5 inches from the SM forks. I wanted the geometry to stay as close to same as possible. To calculate the spring rate, I used the (UNCONFIRMED) difference of the DRZ400SM's 325lbs weight. From the DR650's 365lb weight. Added that sum of 40lbs to my weight of 175lbs for an adjusted rider weight of 215lbs I sent them to Fast Bike Industries to do the mods, springs & rebuild I could have ran a DRZ400 21 wheel, but I found none for sale for a reasonable price. I ordered a 21 wheel from RAD Mfg. Stock DR650 Front Rim weighs 8.18 lbs Stock DR650 Rear Rim with a Shinko 244, HD Tube Disc, no Cush drive rubber weighs 26lbs 4 oz. Rad Front weighs Rad Rear Front 1.85 x 21 Rear 3.50 x 17 (wider than stock) Bead seating seems easier with the smoother finish. The DR650 caliper did not work as the outer edge of the disc rubbed the bracket. The Caliper Part numbers are the same: CALIPER ASSY,FR 59300-13E01-999 CALIPER ASSY,FR 59300-13E01-999 but the bracket numbers are different. DR650 BRACKET 59350-13E00 SM BRACKET 59350-29F00 I found a brand new SM caliper with bracket & pads on eBay so I didn t verify the above part numbers. I took the time to add Braided Brake Lines & change the fluid. A cheap vacuum bleeder made it super simple. After the forks came back and were mounted, there was a clearance problem with the oil cooler & tank. I ended up slotting the oil cooler mount holes and giving them a big tweak with a lever. It s the worst part of the project as it feels a bit crude but, once clear, its fine. The tank, I added some thick weather stripping to push the tank back a hair. From there I added a lil piece of metal on the DR650 s steering stop tab to give me all the turning possible without hitting the tank. I would have to ride a stock DR650 again to tell but, I may have lost a lil turning radius but, that is an acceptable trade off. So, how do the new forks work? On a small jump, I was used to the hearing that god awful clunk and bracing for impact. Now its much much better with no clunk. no fork flexing. Its a firm, solid feel with silky rebound damping. However, Big Suzi still has a fat ass. She is not a light MXer but the front feels so much safer. There are no bad habits, no head shake. Well worth the time and money. More clips coming but, here is a handy one of landing after the upgrades: |
|
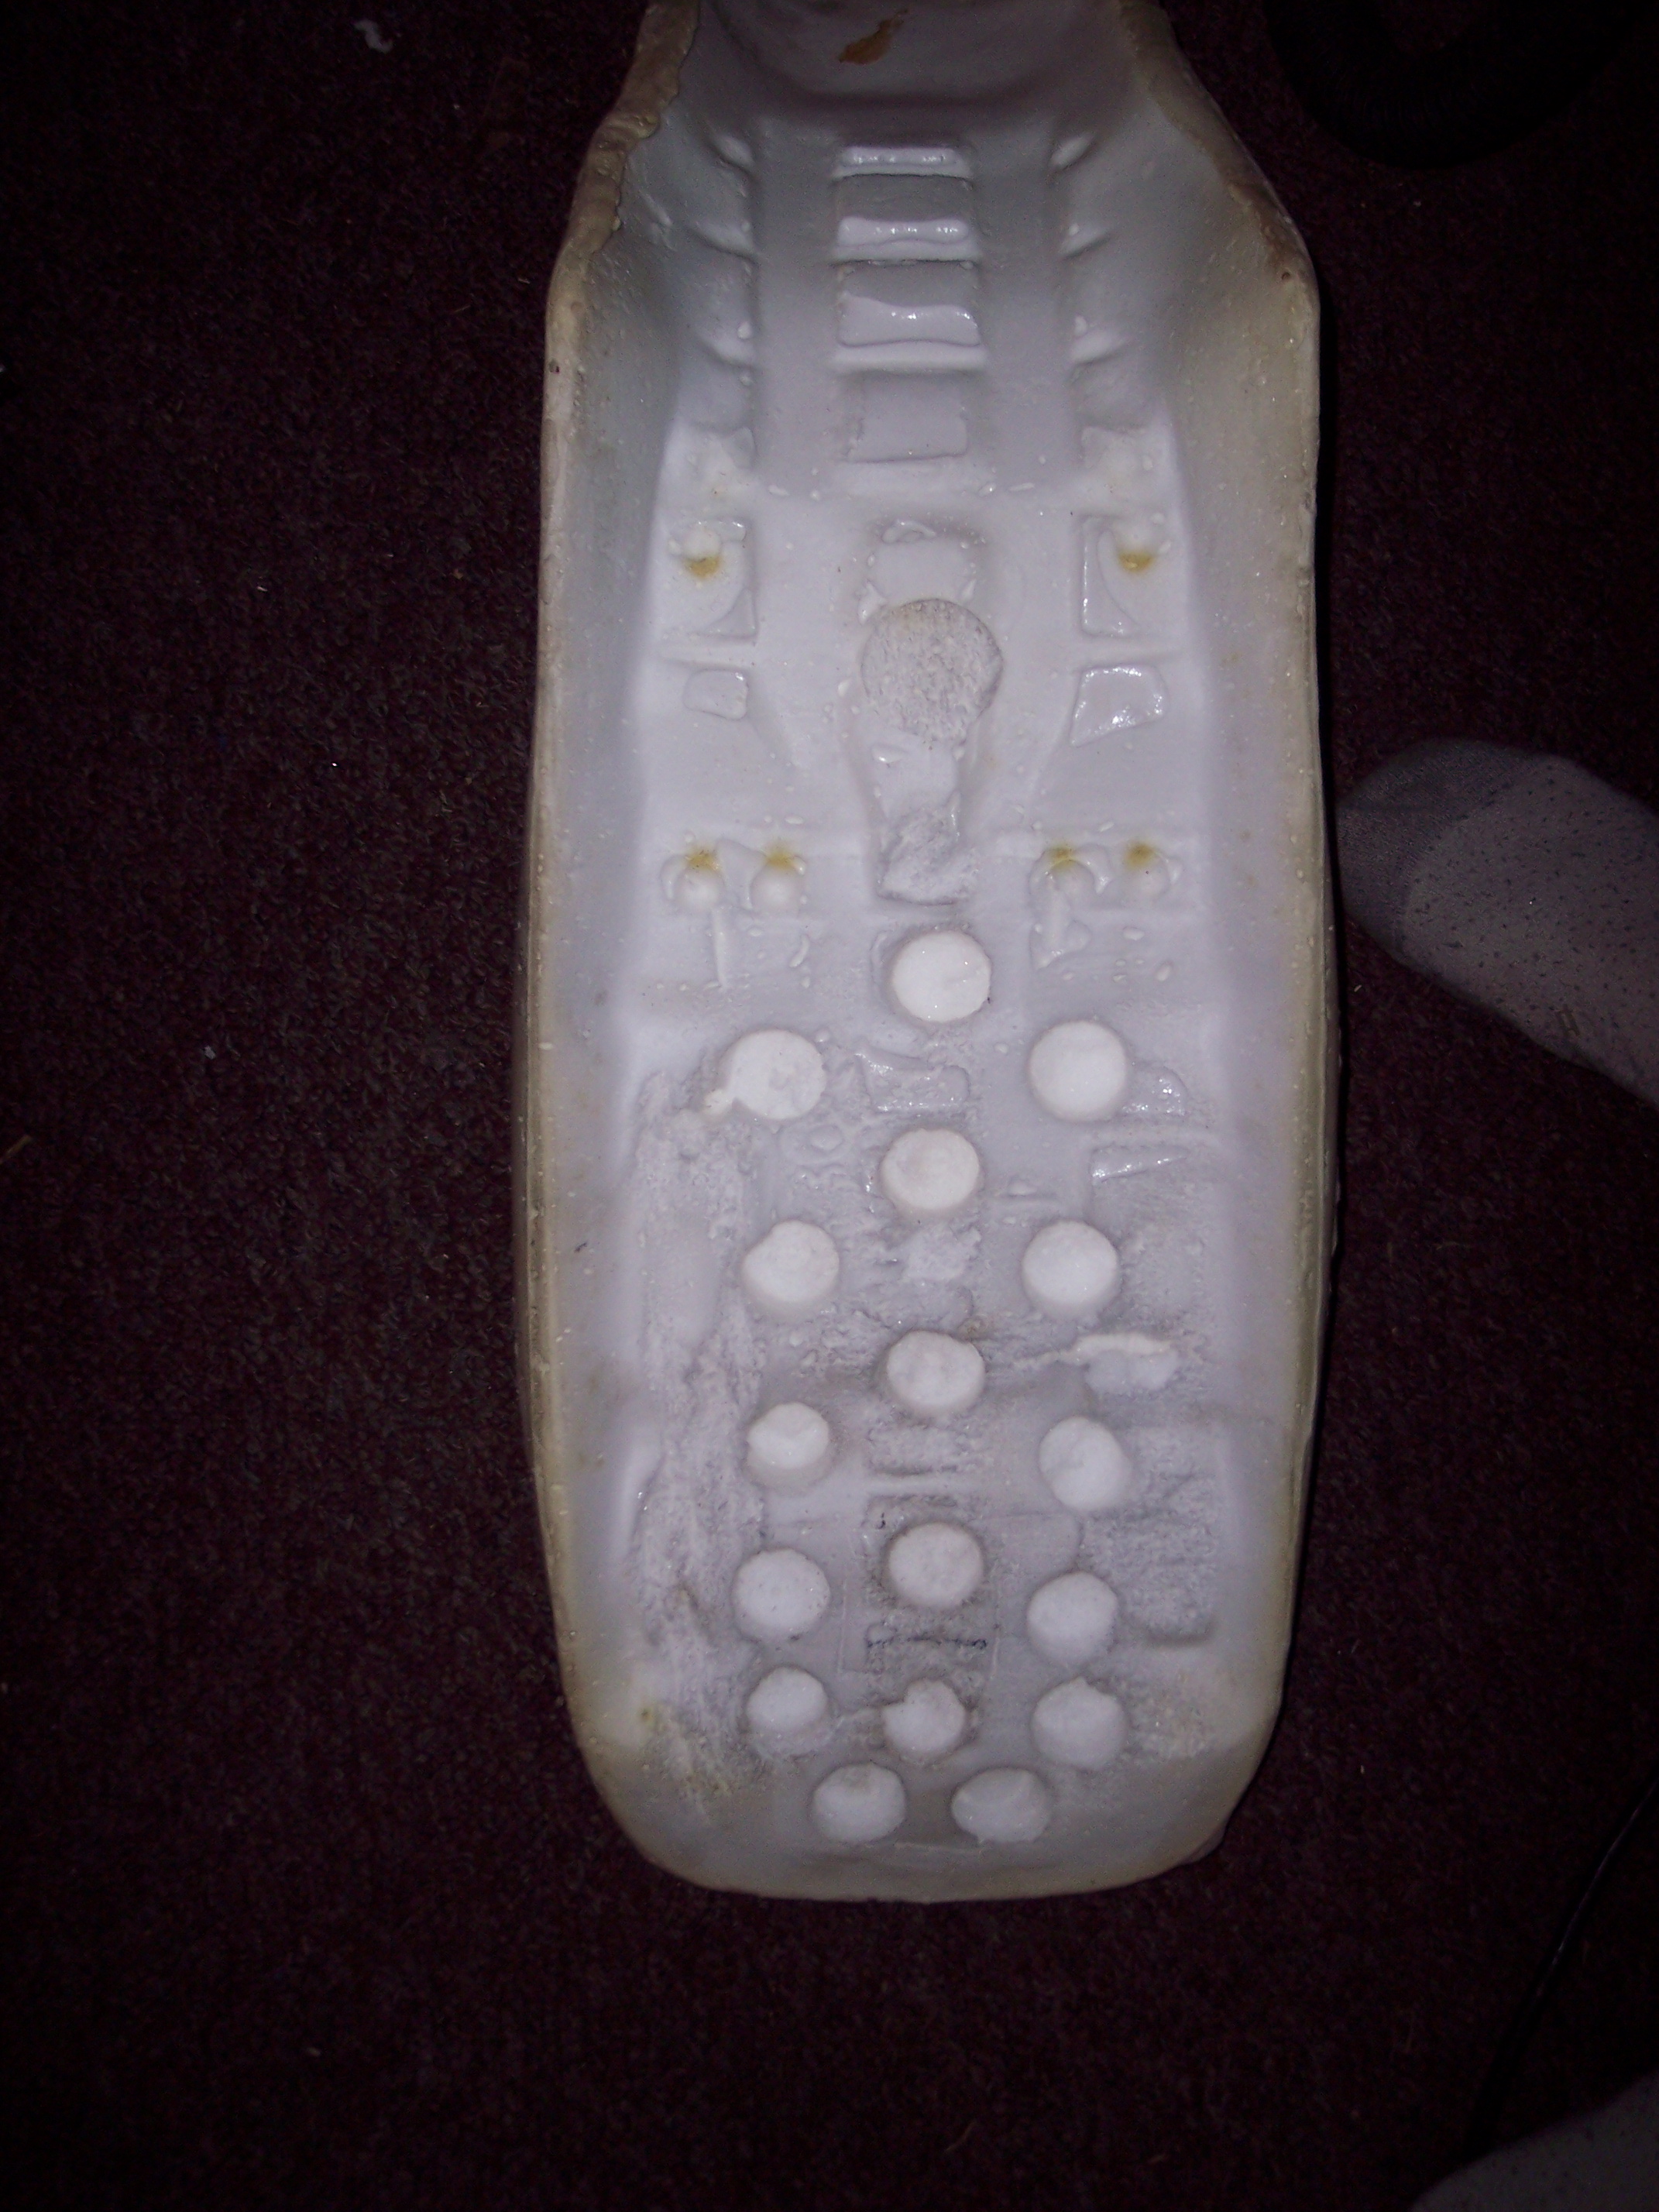
The stock seat was good for about 5 miles before your bum starts
hurting. I call it "Ass Factor 5." So, I bought a Seat Concepts Kit.
The foam is wider but still a bit too hard so, from underneath, I
drilled out a series of shallow 1" holes: |
 |
|
I added a 1 foam sheet to the top. The result? No discomfort at all. |
|
Also I saw an opportunity to try
something I never heard mentioned before, lowering the seat pan. There
is some room to settle the pan closer to the frame. I run a ballistic
Battery, so that gives room to nestle the Ignition box lower. I also
cut the rear portion of the pan out to accommodate the frame. |
 |
|
I removed the rubber bumpers as, I really see no advantage for them.
I was able to drill new bolt hole in the seat mount bracket about
3/4"? higher than the stock position, which put the seat 3/4 lower.
Yea, not much but, I consider any gain an improvement. I added
aluminum tape to the pan, inside and out to keep any water out. |
 |
|
The Dash needed some mods after the fork swap. As an ex RC airplane
builder/designer, you learn to keep an eye out for saving a gram here
and there. Saving grams adds to ounces and so forth. Keeping easy
weight savings in mind, especially above the C of G. For example, I
eliminated the stock ignition & lock and saved about a pound.
Many other places, I removed what I
could, where possible. |
 |
|
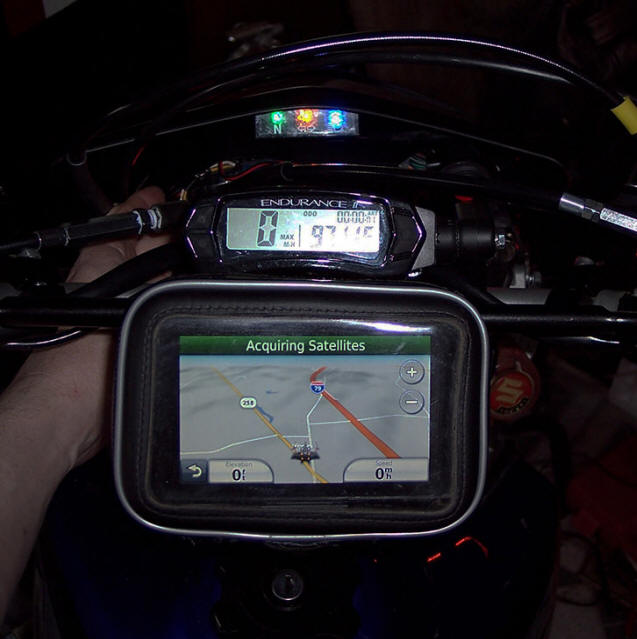
Now, I can see everything at a glance. Yea, the 2005 had a green
signal indicator, I preferred old school amber so I smashed the green
lens out & added the amber LED. The Indicator cluster was glued to the
shroud. |
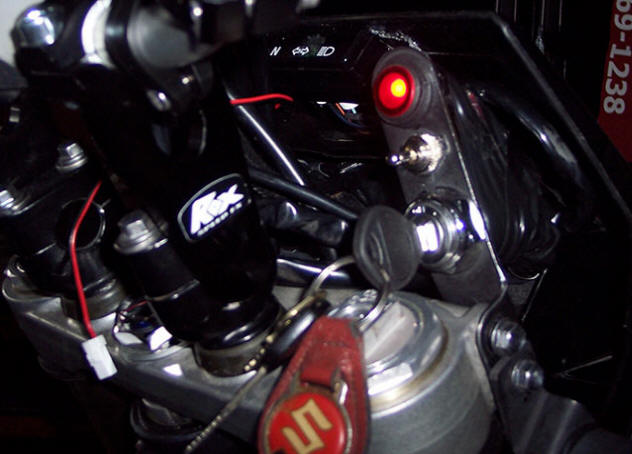 |
Yep, that is a reflector bracked, used to mount the ignition, a headlight power switch and a GPS power switch. And I love the easy access to the key. I also added 3.5 Roxx Risers which gives me perfect posture, eliminating all my lower back stress. Yes, they have a lot of leverage on the rubber mounts but, I don't notice it any more. |
 |
|
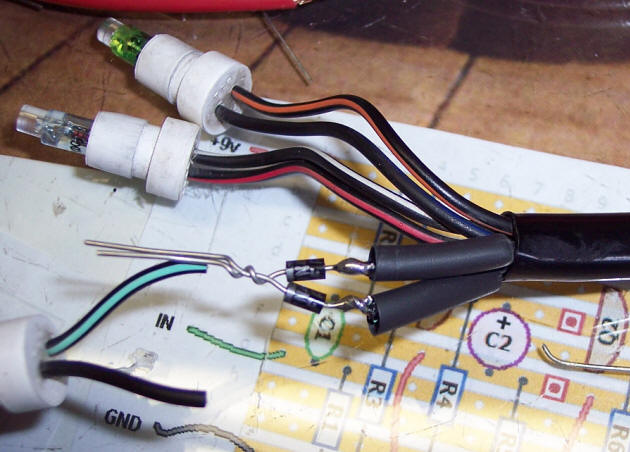
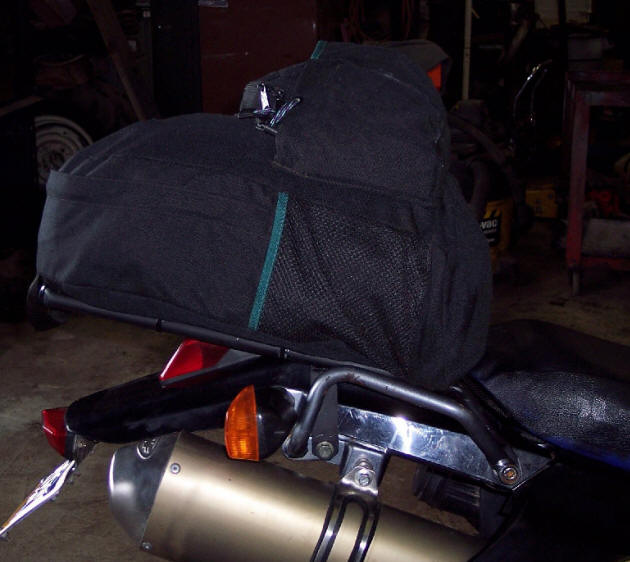
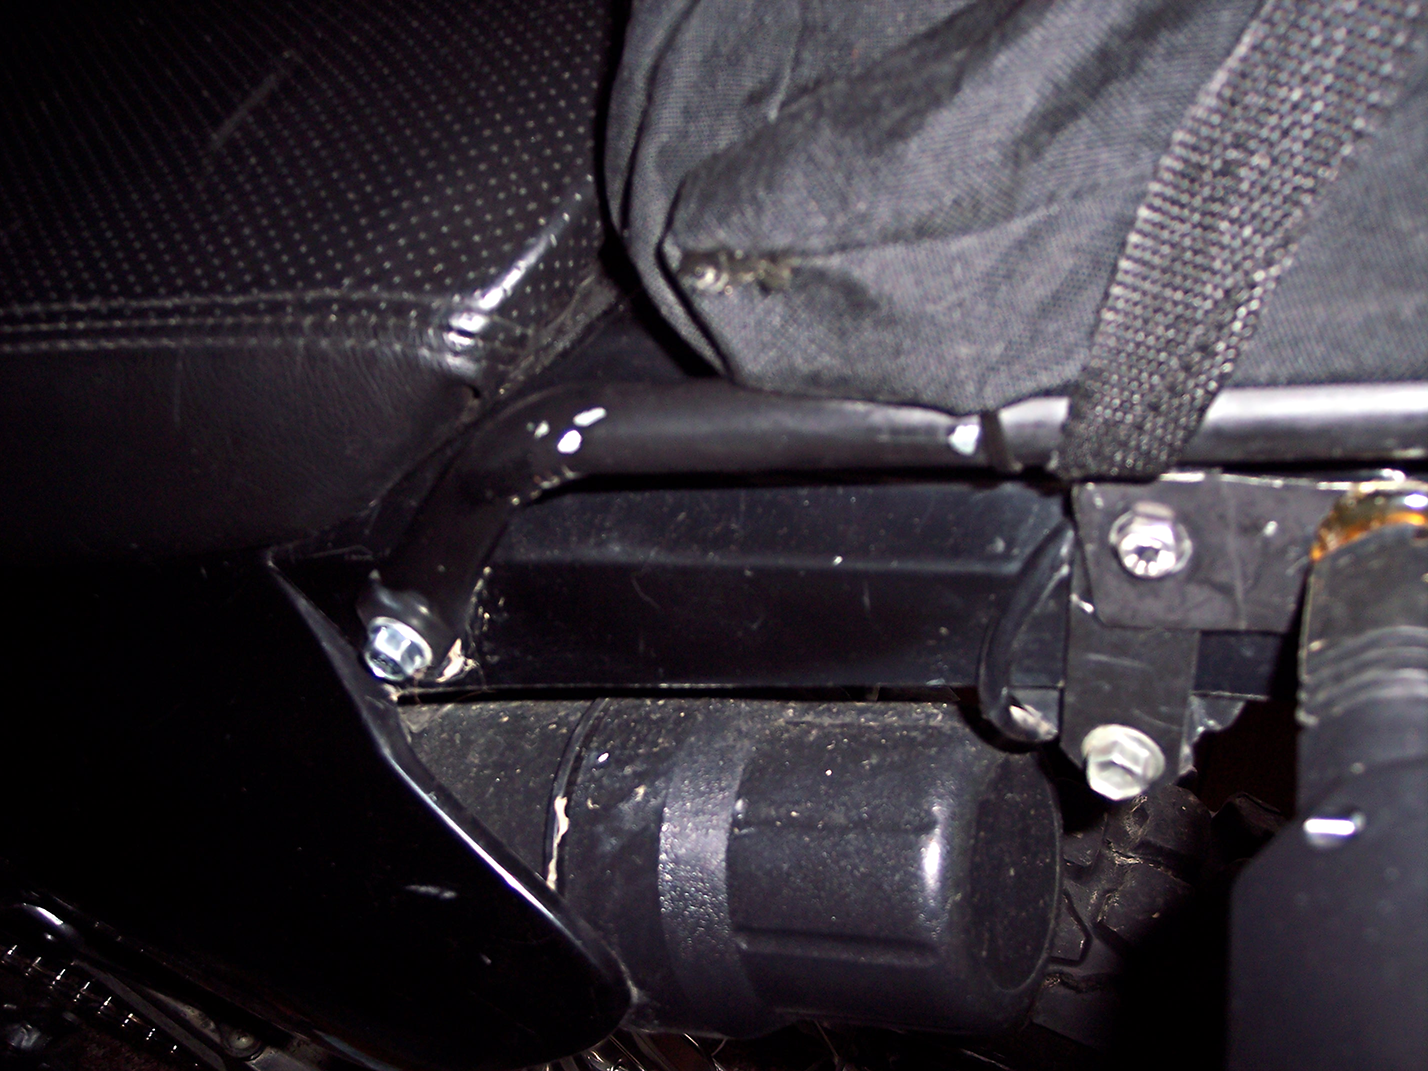
The Indicator lamps were changed to LEDs, which I soldered directly to the wire and eliminating the stock sockets. 1N4001 Diodes were needed to properly steer the voltage. Strapping on a backpack over your shoulders gets old quick. I figured why not make a simple rack and have a "Soft Trunk"? I used a piece of electrical conduit and bent it by slotting the inside corners. I wire brushed the metal, welded on four mounting tabs & sprayed it black. I zip-tied it on and used a piece of polycarbonate for a base. The whole thing is very light, works as intended and cost hardly anything. |
 |
 |
 |
The headlight has
eaten the most experimenting time. Currently, it is a mash-up of two
different systems. I am using the HID bulb, relay and transformer from
one system and the projector lens & HI beam flap system from another.
It took a lot of modding to the stock bucket to get it all to fit. I
also had to waterproof the shroud with lexan. How does it work?
...well, considering the stock headlight is akin to holding up a zippo
lighter, its not bad but, not good enough. I am also running two 10
watt LED lights. I run those as much as possible. 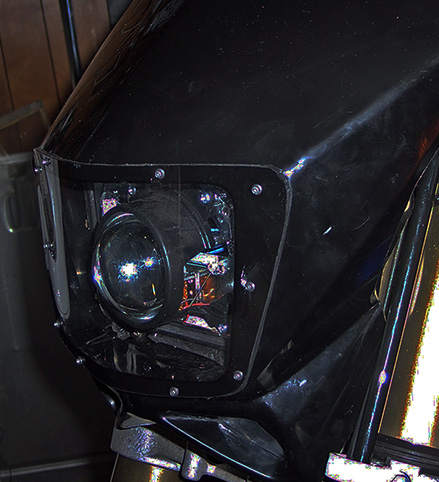 MORE TO COME!!!! |
I dedicate this page to my Dad. Although he pretty much hated motorcycles, he did recognize how badly I wanted one as a kid. It was Christmas day and after all the hoo-ha was well over, he told me to go to the garage to get him something. I was 10 years old and very sick at the time with flu & fever. I was so weak, I could not even stand straight so, I protested. He yelled louder until I got some shoes & a coat on and begrudgingly, I went in. Sitting there in the middle of the floor, was an old, beat up Mini Bike....an Indian Mini Mini. I was 100 % shocked. I couldn t believe it was mine. I HAD to ride it...immediately. Of course, with a 104 temperature my Mom thought otherwise. Especially, since the driveway was solid ice. I begged until she gave in, IF I dressed warm. With all the winter clothes I could find and a scarf around my snotty face, I waddled outside. It was just getting dark and snowing hard and yes, It was truly hard to walk on the ice. ...not ideal. But, I was on pure adrenaline as, this was a moment I have dreamed of for years. As I awaited the fun to unfold, I was confronted with nearly uncontrollable fishtailing and not much forward motion. The ice had hardly any traction whatsoever. I remember feeling the motors vibration, it was kinda scary. It wasnt like a bicycle where you have near silence, you had a living entity with you, angrily roaring. I had to learn quickly, you befriended this beast by feathering the waffle-gripped throttle. The ice was not forgiving. It was quite difficult to go straight. But somehow, with extreme concentration and balance, I was, for the first time, moving forward without having to pedal. It was a magical moment that today gains clarity with this writing. I rode up & down the driveway, freezing cold and in pure ecstatic joy until the crummy centrifugal clutch threw the chain. In Dad's twilight years, I asked him many times: "if you hated bikes so much, why did you get me one?" He never did say, he would just shrug a shoulder. Well, for whatever reason Dad, I thank you. |
 |
 |
 |
|
Who is Soxx? Check out his Photoshop Adventures: |
|
|
| Copyright 2018 - 2024 Rockman-Repair.com |